Description
This tool was made to help you add Braille to your 3D models during the design / CAD phase. It can be copied and pasted on to your existing models. It can also be used to make labels, plaques or signs to be added to existing objects. Size and spacing is essential for Braille to be readable, so don’t resize it when placing on a model. A key is provided in the source file which shows the dots required to make each letter, and also shows the required spacing should you need something a bit more custom.
Gallery


Printing instructions and tips
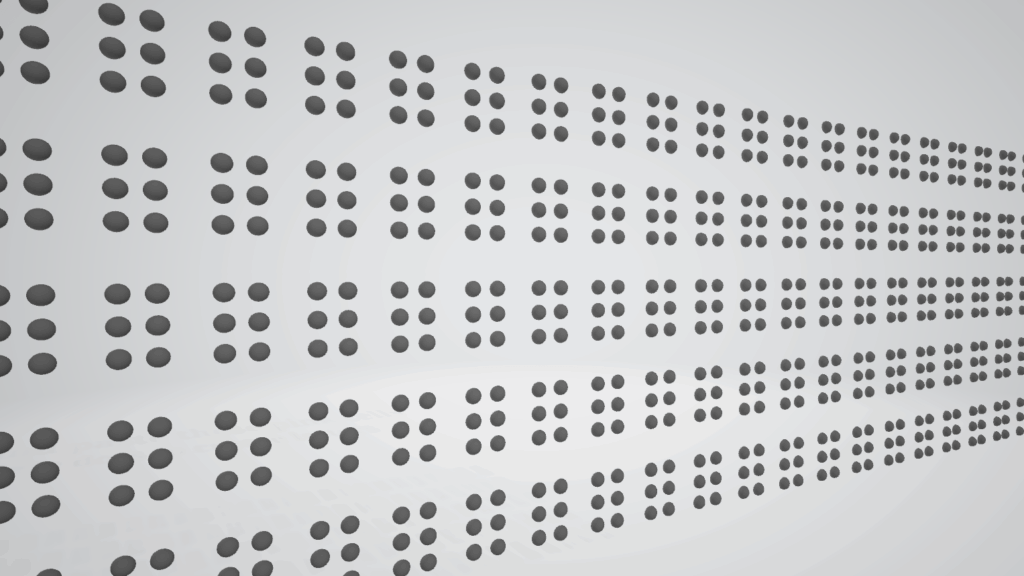
For easiest use, access the source file of the Braille Tool, where you can easily edit the matrix to create Braille. A Braille ‘cell’ is made of 6 dots. Different combinations of these dots make the different letters, numbers and punctuation. Simply copy the number of ‘cells’ you need for letters and spaces (just an empty ‘cell’ between words), paste onto the surface of your model, then delete the appropriate dots to create the letters. Size and spacing is essential for Braille to be readable, so don’t resize it when placing on a model. Note that the spacing between lines of Braille is essential too. Braille should be printed at the finest layer size possible. 0.1mm has produced reasonable results. Print times can be minimized by using variable layer height. This allows the Braille to retain the maximum detail whilst not slowing larger prints. Wherever possible Braille should be printed on a vertical plane as this produces the cleanest result. I have had good results printing on a horizontal plane however reasonably significant cleanup is required to make the Braille comfortable and legible. Source files can be found here: https://www.tinkercad.com/things/i7IMVTWSiTG
Downloads
- Main Asset (Braille-Application-Tool-6-Dot.stl)
- Screenshot (23) (PNG)
- Screenshot (23) (PNG)
- Braille Application Tool (6-Dot) (STL)
Bundle of all files listed above.