Stratovolcano with subducting plate boundary
Description
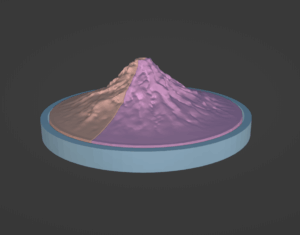
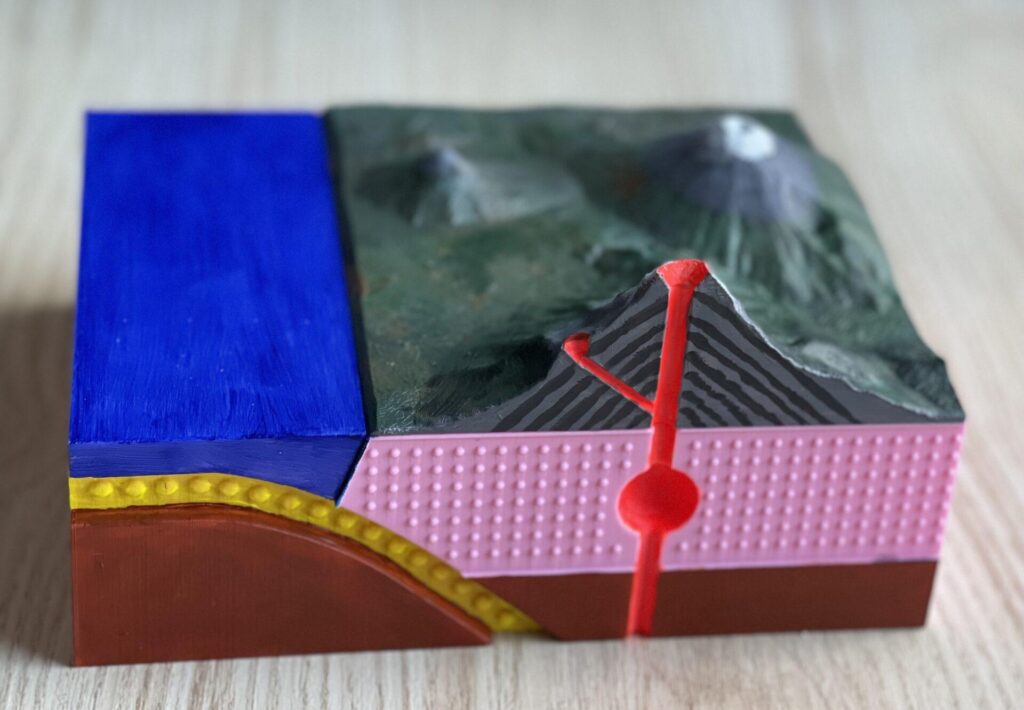
The model of the volcano with representation of plate tectonics consists of two parts. Depending on the topic, these can also be used separately in the classroom. For this purpose, do not glue the two parts together. 1. stratovolcano The plate with several stratovolcanoes shows clearly that a whole series of volcanoes are formed at a plate boundary such as the Parzifian Ring of Fire. The foremost volcano, which is shown in cross-section, shows a vent, a secondary vent and two craters. Note: Data from several real volcanoes were used to create this representation. From front to back these are: Merapi, Mt. shasta, Mt. Fuji, Popocatepetl. This information is probably not relevant for the students, but it might be for the teacher. Link to the model @ Tinkercad . 2. subducting plate boundary The model of plate tectonics shows the oceanic curst subducting under the continental crust. The litospheric mantle is also shown below the two crusts. The ocean can either be glued onto the model, or the existing depressions can be fitted with 5mm cube magnets (recommended). In this way, the ocean can be lifted and the deep sea channel created by subduction can be explored. Didactic notes Compared to a swell copy or the model of a single volcano, this model has a number of advantages: the connection between plate tectonics and the formation of volcanoes is illustrated the three-dimensional representation of a cross-section can be captured the model can be supplemented with a swell copy. Different representations of the same issue contribute to the understanding of the different representations. https://tactiles.eu/tactile-graphic/stratovolcano-in-cross-section-with-subducting-plate-boundary/ real representations (topgrographic model of volcanoes) are related to model simplifications (e.g. magma chamber). Existing versions Plate tectonics complete: The entire plate tectonics consists of one part (+ ocean). Plate tectonics seperate: The individual components are printed separately. This keeps the individual printing times smaller (total printing time and material consumption increases) and the components can be printed in different colours. Afterwards, gluing with superglue is necessary. Components: Lithosphere_1 Lithosphere_2 Oceanic crust Continental crust Ocean Painting the model: I recommend painting the volcano with acrylic paints. If you print the Version “plate tectonics version completely”, painting the different parts is also recommended. Development stages of the model: 1. experiments with printing replicas of real volcanoes 2. design and testprint of subducting earth plates located under the volcano 2. revision of the volcano of Elisa revision of the vent addition of the earth plates 3. revision of the tectonic plates printing of the tectonic plates from one piece colouring with acrl colours insertion of magnets enlargement of the magma chamber 4. revision of the volcano and the tectonic plates topographic map now consists of replicas of real volcanoes components are printed separately and glued with superglue colouring of the stratified volcano can be tactilely felt through sand
Printing instructions and tips
Volcano: To achieve a fine resolution, a layer height of 0.1mm is recommended. A fill of 3-5% is recommended. 2 shells are fine. The printing time is long, around 9 hours. Plate tectonics complete: Print the model on the narrow right side. A fill of 3-5% is recommended. 2 shells are fine. The printing time is long, around 11 hours. Plate tectonics seperate parts: Align each piece so that there are no large overhangs and the points on the outside are not touched. The STL files are already provided in this orientation and do not need to be rotated in the slicer. Fill is not mandatory for any of the parts, but I recommend approx 4%. Each part takes 2-5 hours to print.
Downloads
- Continental crust (STL)
- stratovolcano (STL)
- Oceanic-crust (STL)
- Litosphere_1 (STL)
- Volcano_preview_not for printing (3MF)
- plate tectonics_complete (STL)
- Litosphere_2 (STL)
- Ocean (STL)
- plate tectonics_complete (SKP)
Bundle of all files listed above.